
- Part Detail
- CLICK TO VIEW
TRIUMPH PLATES - Browse Original Triumph Catalogue Plates
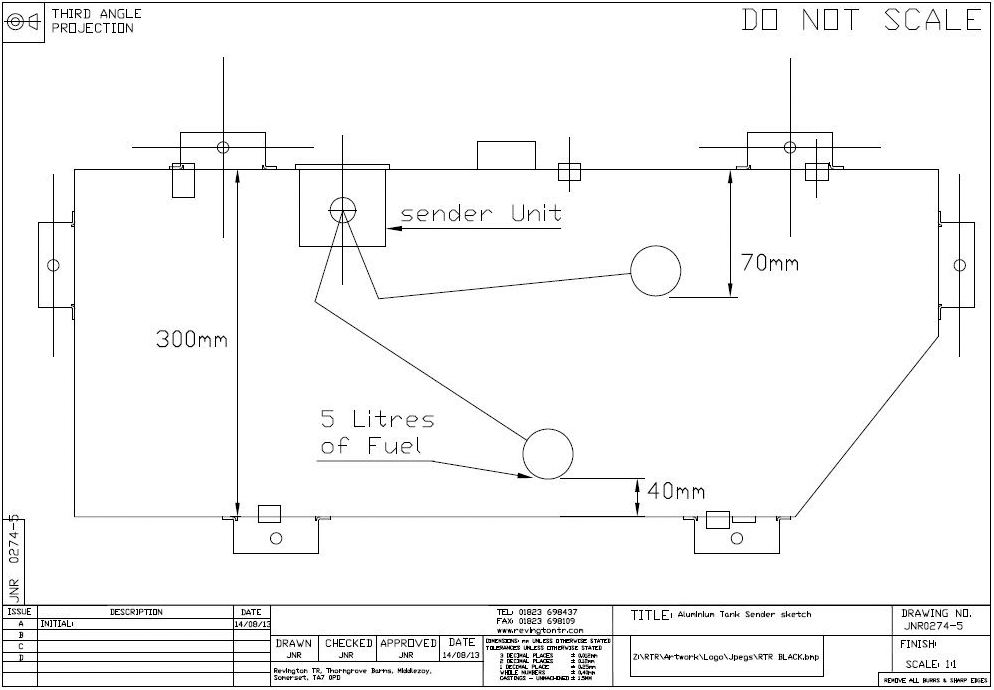
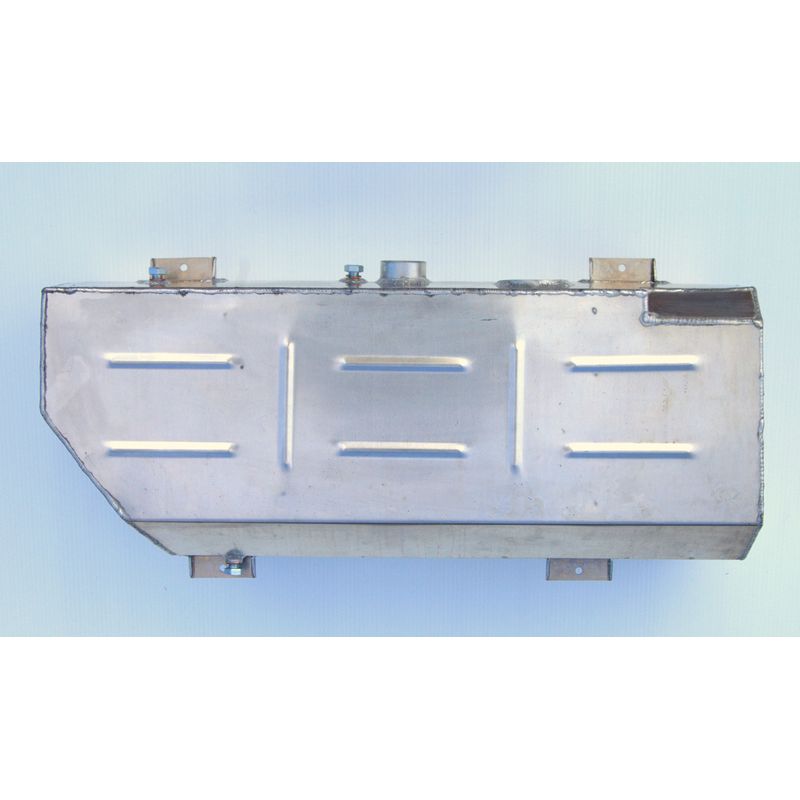
ALLY FUEL TANK TR4-6 STANDARD CAPACITY
CURRENTLY UNAVAILABLE

This standard (ish) capacity aluminium Fuel Tank is a basic level multi-application unit with outlets to cover TR4, TR4A, TR250, TR5, carburettor TR6 and Petrol Injection TR6. Whilst this entry level tank will do a job, its construction is such that its capacity is reduced, and its mountings are not ideal, we therefore strongly recommend using 312359XALK instead.
See the link to this product below.
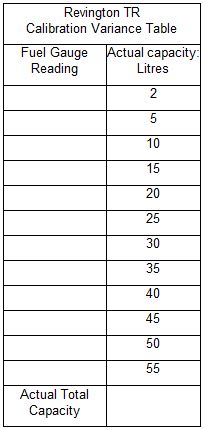
Yuo can download this table here
To view the Triumph Catalogue Plates, please pick a car type
| Part No. | Description and Comments | Price | Add to Cart | |
|---|---|---|---|---|
312359FK |
FITTING KIT ALUM TANK |
£141.60 Ex VAT @ 20% |
||
 |
312359XALK |
ALLY TANK KIT TR4-6 LARGE CAPACITYRevington TR information: TR4, 4A, 5, 250, carburettor TR6 and Petrol Injection (PI) TR6 aluminium, extra capacity Fuel Tank. This tank includes all the correct internals for use with petrol injection (PI) fueling systems both mechanical and electronic and... READ MORE |
£882.38 Ex VAT @ 20% |
|
 |
RTR8514-1
|
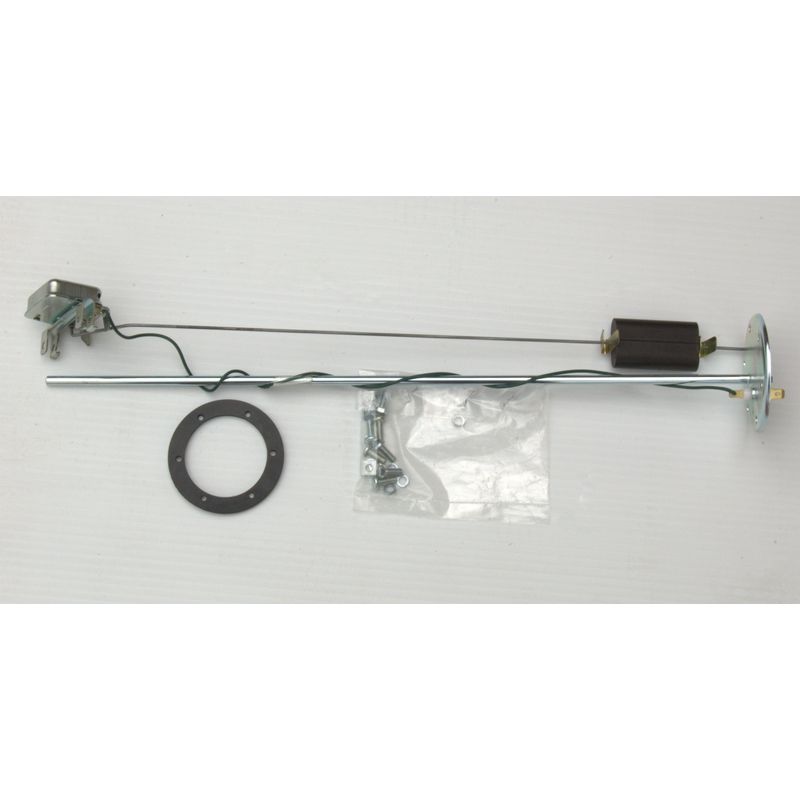
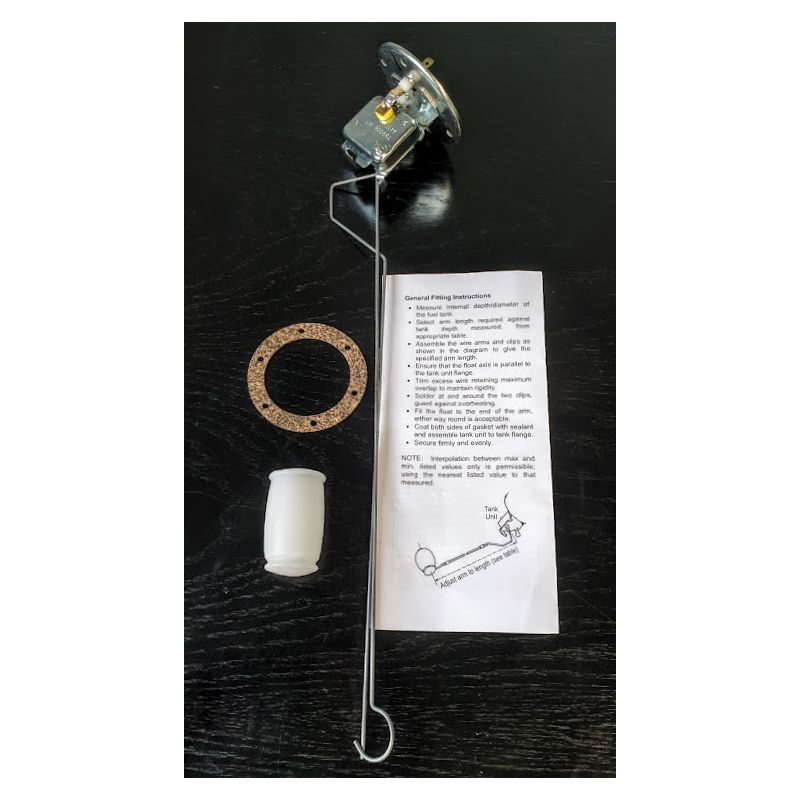
FUEL TANK SENDER TR4-6 FUL ADJRevington TR information: High quality Fuel sender unit TR4, 4A, 250, 5 and TR6. The float arm of this versatile fuel sender unit can be adjusted in two dimensions, for height and reach of the float arm to suit... READ MORE |
£118.21 Ex VAT @ 20% |
|
 |
214465-1 |
TANK SENDER TR4/4A/5/6 HQ VER ADJ ARMRevington TR information: Fuel level Sender Unit, high quality suitable for Bi-Metal instruments as fitted to TR4, 4A, 250, 5 and 6 with additional low warning light facility ( does not need to be used). This sender unit ... READ MORE |
£119.96 Ex VAT @ 20% |
|
UKC9920 |
HOSE TANK NECK TR2-6Revington TR information: TR2-6 hose filler to tank. Standard rubber hose will allow unleaded petrol to permeate through its walls resulting in permanent petrol smells. This product is manufactured from Nitrile rubber which has good resistance to petrol but... READ MORE |
|||
 |
RTR4456K
|
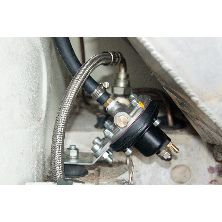
FUEL PRESSURE REGULATOR kit TR5-6PIRevington TR information: This Pressure Relief Valve (PRV) kit replaces the original PRV found in TR5's and TR6's and as it is of a modern diaphragm design, cures many problems inherent in the Lucas Mechanical Fuel Injection system. Key... READ MORE |
£210.17 Ex VAT @ 20% |
|
 |
RTR4050XK
|
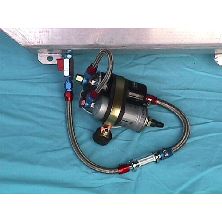
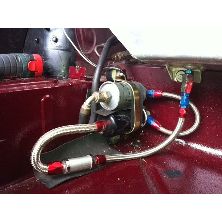
Axial PUMP KIT PI cars, for fitment outside, with tap.Revington TR information: This High pressure Fuel Pump kit for TR5-6 Petrol Injection cars includes a motorsport grade axial pump, pre-filter and pressurised filter. Developed by RevingtonTR, externally mounted, this kit replaces the Lucas fuel pump and filter system... READ MORE |
£828.77 Ex VAT @ 20% |
|
 |
RTR4050K
|
Axial PUMP KIT, PI. Fitment in spare wheel well, with tapRevington TR information: Revington TR developed this high pressure pump kit based on a Bosch style axial flow pump and pressurised filter in the late 1980's. An on/off tap connected between the petrol tank and the first feed hose,... READ MORE |
||
RTR4013E
|
FILTER 30Micron ELEMENT ONE ONLYRevington TR information: Replacement element for RTR4322 and RTR4013 |
£6.94 Ex VAT @ 20% |
||
RTR4013-2E
|
FILTER GAUZE ELEMENT ONE ONLY large bulletRevington TR information: Replacement gauge filter element for filter RTR4012-2 |
£8.10 Ex VAT @ 20% |
||
RTR4012K
|
FILTER SERVICE KIT FOR RTR4050Revington TR information: Canister fitter replacement kit consisting of 1 x RTR4012 canister filter, 2 x WC21420202 sealing washer and 2 x WC21217142 sealing washer. This kit services the post pump filter on out Axial flow high pressure fuel... READ MORE |
£40.94 Ex VAT @ 20% |
||
2H1082 |
FUEL SENDR UNIT GASKET TR2-6 |
£1.52 Ex VAT @ 20% |
||
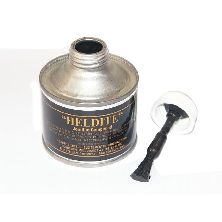 |
TDC5001-125 |
HELDITE 125ml TIN WITH APPLICATORRevington TR information: This excellent jointing compound is supplied in a tin with an applicator brush. Heldite provides a perfect gas and fluid seal. Not available to Customer outside of the UK. Applied with an applicator brush integral with... READ MORE |
£14.39 Ex VAT @ 20% |
|
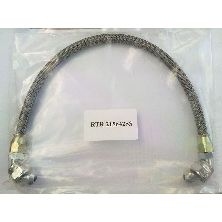 |
215642SS |
HOSE PUMP TO PRV SS TR6PIRevington TR information: Hose Braided Stainless Steel from petrol pump to Pressure Relief Valve (PRV) TR6 where the PRV is at the left hand side of the petrol tank (many TR5's will have been converted to this arrangement). This... READ MORE |
£108.91 Ex VAT @ 20% |